While painting a room can take up to four days, did you know it was possible to finish the job in less than a day? We’re going to show you some tips, tricks, and materials needed to paint an average-sized room without spending more than a day on this project.
Can You Paint a Room in a Day?
On average, painters take about two to four days to paint an average-sized room. However, if you’re fast and efficient, you can absolutely paint the room in one day.
Prep work often takes up a lot of time, so if you do this the day before or you plan everything in order to be very efficient, it shouldn’t take very long.
Also, the prepping part depends on the potential things you have to fix before you actually start painting.
Why Would You Want to Paint a Room in a Day?
There are certain situations where painting the room as fast as possible is required. Some examples would include:
- You have a very busy schedule, and you only have one free day to deal with painting a certain room in the house.
- The weather outside has been terrible, and you finally caught one sunny and hot day, which helps the paint dry faster.
- You need to prepare a room for out-of-town guests and you’re looking to paint the room quickly and have it done before they arrive.
- You have to paint all the rooms inside the house fast, so you need to finish one room every day to stick to the schedule.
Tips for Painting
Painting your walls in a fashionable color is one of the easiest and most cost-effective methods of revitalizing a drab environment. And, because it is a job that the majority of homeowners can complete themselves, it is also one of the most economical.
But how can you get the best results possible even if you have no experience in painting walls?
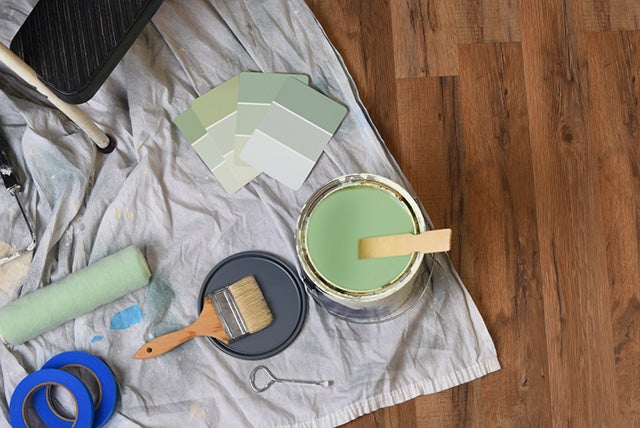
- When it comes to paint colors, the possibilities are virtually limitless. Start by imagining what you ultimately desire in order to steer your search.
- Use calculators found online to determine exactly how much paint you’re going to need.
- Go out and get some paint samples once you find the colors you like.
- With your sample cans in hand, start painting swatches on the wall to see what you like.
- Before you begin painting, dry-dust the walls from top to bottom and clean any particularly gritty areas.
- Make sure to cover every inch of the room that shouldn’t end up smudged with paint.
- Brushes can be stored in a freezer bag if you need an extra day to finish a painting project that was supposed to be a short one.
- Do the prep work the night before to make sure you can start painting the very first thing the next day.
- Using latex gloves when painting is a fantastic way to keep your hands clean. If you’re painting with enamel or oil-based paint, it may be difficult to remove the paint from your hands once it’s dried.
- With a paint comb, brush cleaning is much easier.
- When painting, make sure to preserve a wet edge and then move away from that wet edge. In general, a glossier paint will display more overlap marks.
How to Paint a Room in a Single Day
Before any of these steps, you need to choose the best paint color for the room.
What you’ll need:
- Drop cloth or plastic sheeting
- Painter’s tape
- Spackle paste
- Putty knife
- Sandpaper
- Primer
- Paint
- Paintbrush
- Roller
- Ladder
- Paint tray
Step #1: Prep the Room
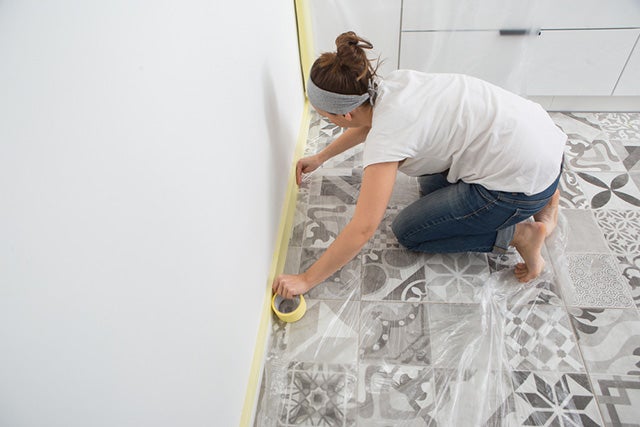
Preparing your room for painting should be done the day or night before you begin. Remove furniture that is close to the walls and cover it if it is needed. Remove any artwork or other decorative elements from the walls. Remove any hooks, nails, or other fasteners. Cover power outlets and switches. Cover the floors and whatever furniture you can’t move out of the room.
Step #2: Cover the Imperfections
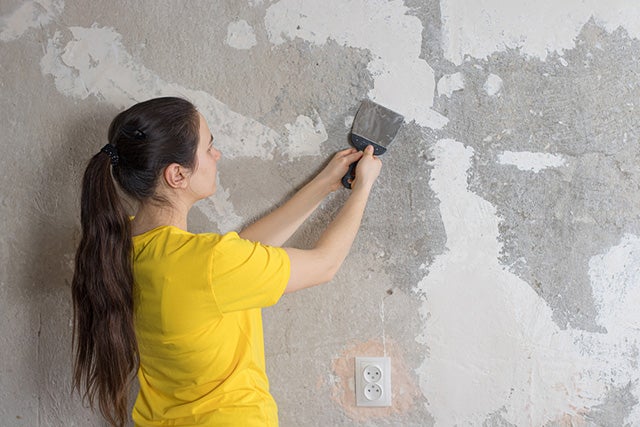
In the event that you want to use the same holes for hooks, screws, and nails, this step may not be essential, but if you have any that you don’t want to be visible, fill them with spackle and let them dry completely before continuing. If required, apply a second coat, and once it has dried completely, softly sand it to ensure that it is flush with the wall.
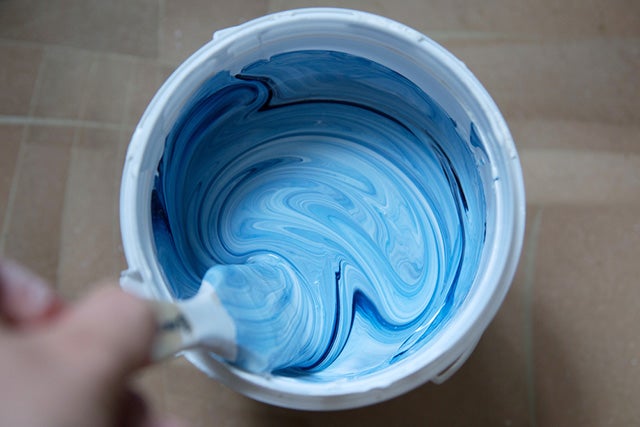
Step #3: Prime the Walls
Because primer is less expensive than paint, it will save you both money and time in the long run. Additionally, you will only need to apply two coats of your final paint instead of three or four if the original color was still coming through.
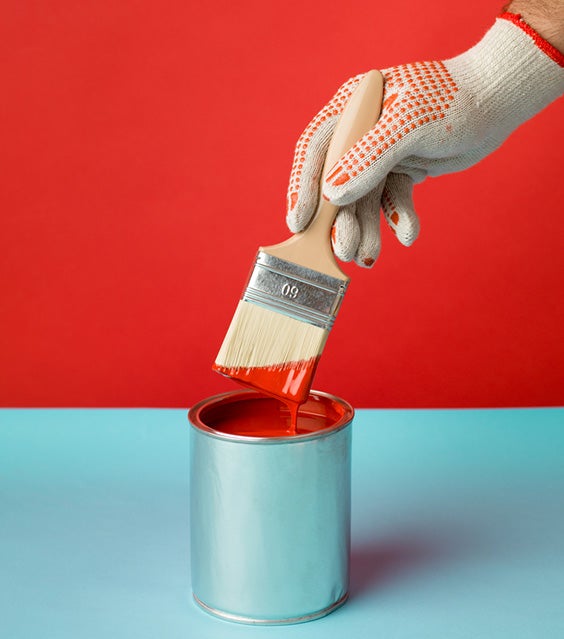
Step #4: Cutting-In at the Edges
Get a small, angled brush and dip it inside a cup of paint or directly in the paint bucket. You only want to dip the brush about half-inch to an inch maximum.
Apply it a bit thicker than usual so that two coats are sufficient, but not so thick that it drips or leaves you with visible brush marks. If you find any droplets anywhere, simply brush them out with a soft brush.
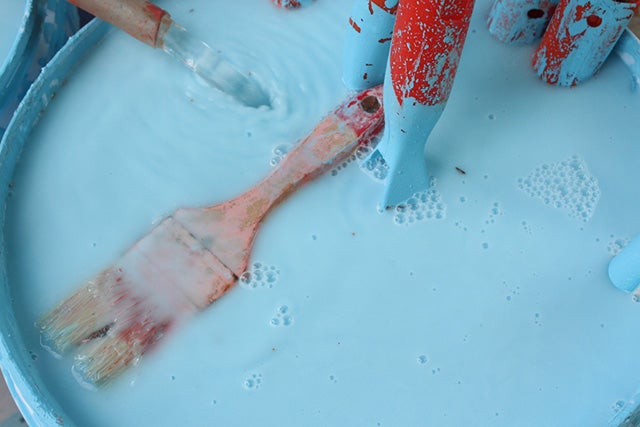
To properly clean your brush, lay it flat to dry or raise it up with the bristles facing down to allow it to dry more quickly. It is not desirable for water to drip into the handle region. Recycle any leftover paint by pouring it back into the bucket and cleaning or discarding your cup.
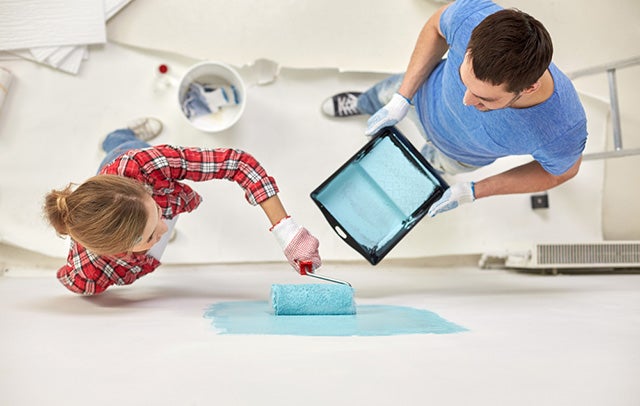
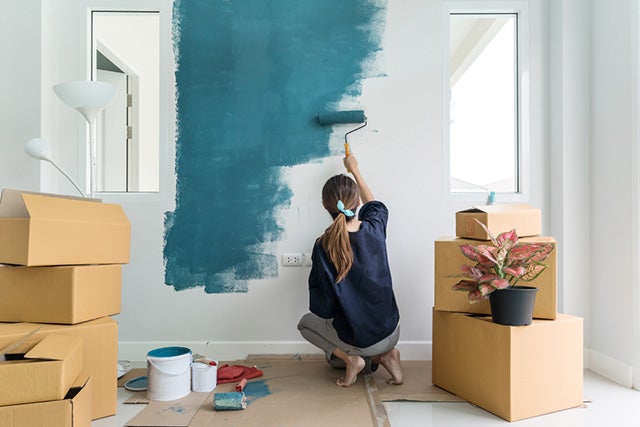
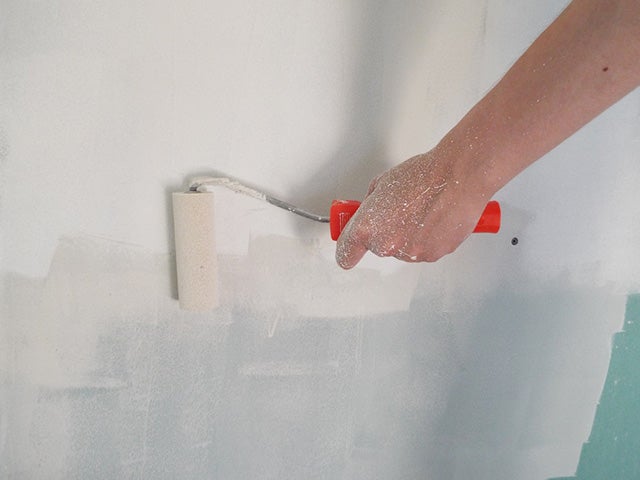
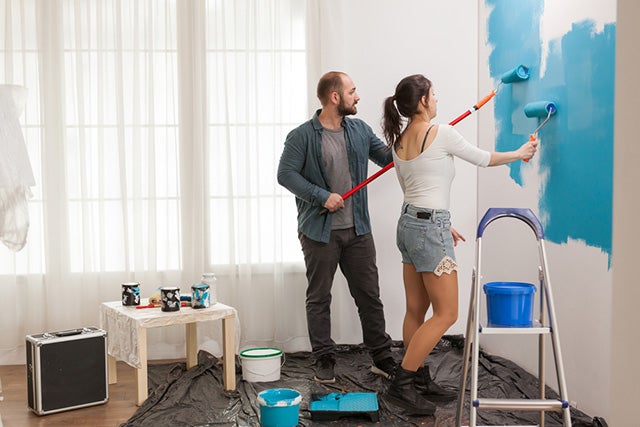
Step #5: Paint the Walls
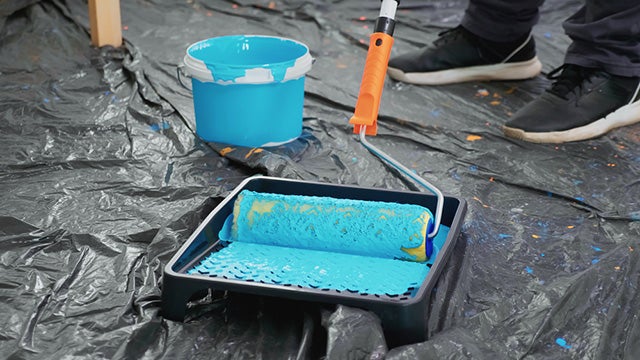
Fill your pan halfway with paint and set it aside. Dip your roller in the paint and make sure it’s fully saturated. When the roller is saturated but there is no paint dripping from it, it’s time to apply it to the wall.
When you notice the roller is harder to brush against the wall, it’s time to dip it in paint again and repeat the process. Look back on your work to check for paint drips. You’ll want to paint a little bit over your cutting-in markings to ensure that your walls are completely covered with paint.
After the first coat has dried, apply a second coat.
Step #6: Clean Up the Room
When you’re done with the paint job, clean up the room:
-
Clean all the rollers and paints used in the process.
-
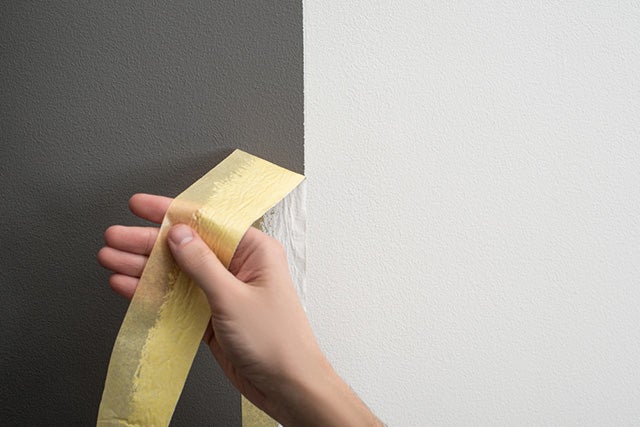
Before the paint is dry, carefully take off the painter’s tape.
-
Get rid of drop cloths, coverings, and plastic sheets.

-
Put back furniture pieces, decor items, and wall art.
Bottom Line
Most people like to allocate at least two days for painting a room after they’ve chosen a paint color. However, some people can’t afford to spend more than a day on such a project. To all those in such a situation, I recommend this guide on how to paint the room in one day.
Photo credit: WiP-Studio/Shutterstock; ElenaAnt/Shutterstock;
Garna Zarina/Shutterstock; marina_eno1/Shutterstock;
Comaniciu Dan/Shutterstock; DC Studio/Shutterstock;
Artikom jumpamoon/Shutterstock; BAZA Production/Shutterstock;
littlenySTOCK/Shutterstock; Yuriy Golub/Shutterstock;
kitzcorner/Shutterstock; Steve Cukrov/Shutterstock;
Syda Productions/Shutterstock