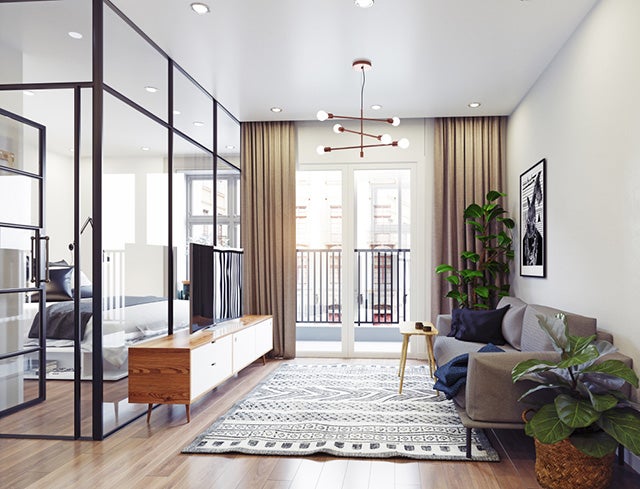
Planning to separate your studio apartment for a bedroom? Or do you want to divide your living room into a bedroom? Whether you’re using a divider or building a wall, separating two rooms from one another makes your space more comfortable and functional.
Room dividers are time-consuming, that’s why we’re giving you tips on how to divide a living room into a bedroom with dividers. We also guide you on how to build a wall with lumber and drywall.
How to Divide a Living Room into a Bedroom Using Dividers
Dividing a studio apartment doesn’t have to cost a lot. A divider is a cheap and easy way to separate your living room into a bedroom. We’ve prepared a step-by-step guide and list of tips for you when installing a room divider!
— Steps to Dividing a Room
Before getting a divider, here are four easy steps to follow.
1. Determine the Purpose of the Divider
Some dividers not only divide rooms, but they also become an area for storage. Others may create dividers for sound privacy, so it’s important to select the right materials to sound-proof the room.
2. Fix Your Budget
Find out what kind of room divider fits your budget and if it is suitable for the purpose and design of the divider. Assessing your finances will help you create better choices for the color, finish, and material as well.
3. Choose the Number of Panels
Folding room dividers usually have more than one panel. Measure the area of the location and the panel dimensions. Calculate how many panels are needed to completely separate the living room and bedroom.
4. Select the Room Divider Type
Room dividers have three main types which we will discuss later on. But you don’t have to settle with these basic dividers. You can get creative through DIY room dividers that will make your home look more put together.
5. Consider the Decoration
You don’t need to use a divider to simply divide a living room into a bedroom. Some use two-way dividers like headboards to separate the room. Others use dividers for storage.

Make sure the divider adds personality to your room. Decide whether wood or acrylic is better for the theme of your apartment. You can also consider visual illusions. Vertical lines give the illusion of a higher ceiling!
— Types of Room Dividers
Three standard types of room dividers exist in markets. But take note that your choices are not limited to these!
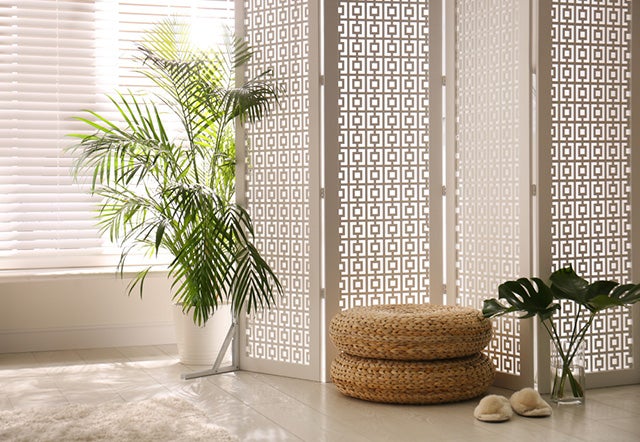
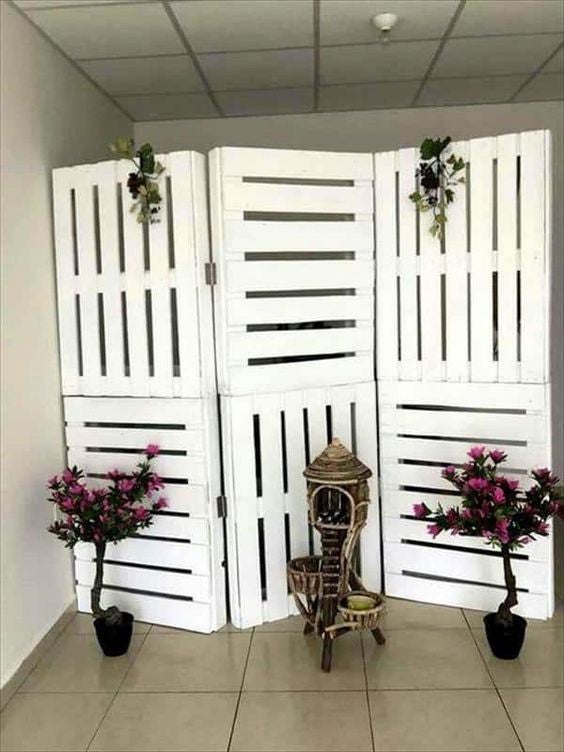
1. Folding or Accordion Divider
Folding dividers are the most popular and accessible dividers for people who live in an apartment or condo. They are easy to store and transfer from one place to another because you just have to fold and carry them.
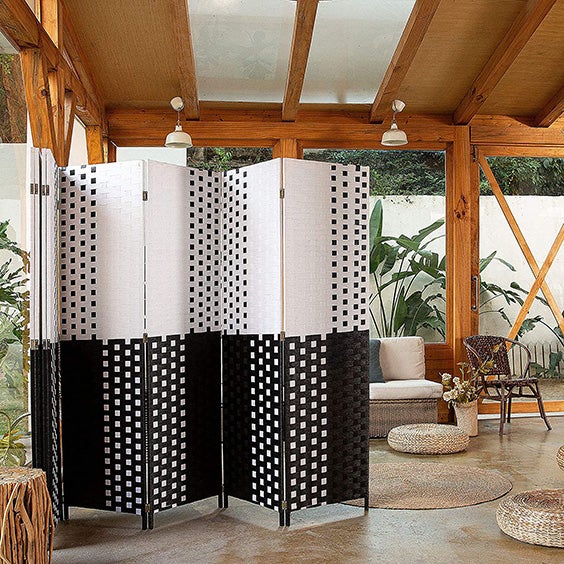
Folding dividers need not be hung or attached. You won’t be required to drill holes and use a hammer. The only disadvantage of using folding dividers is that they may fall when the wind blows too hard. Try pushing the panels closer to provide more support.
2. Hanging Divider
Hanging dividers can be made of resin, acrylic, light wood, or fabric to set boundaries from the living room to the bedroom. Some solid hanging dividers are also made of PVC panels, which can be attached flat against the wall for decoration.
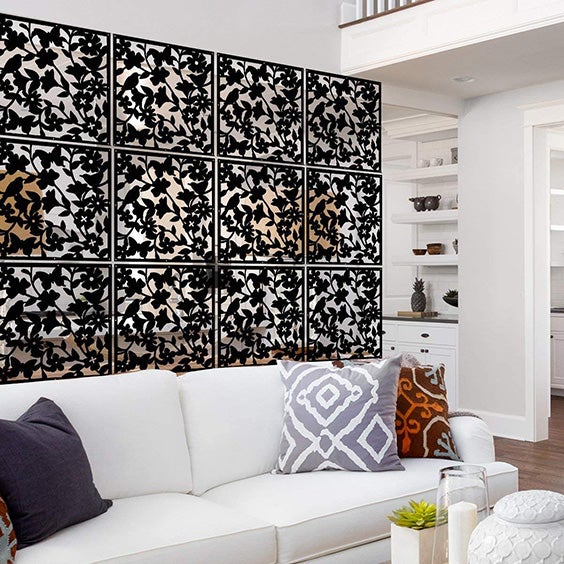
The solid materials are ideal if you want the divider to be stable and not swaying. However, some still tend to sway despite having a heavy weighted bottom.
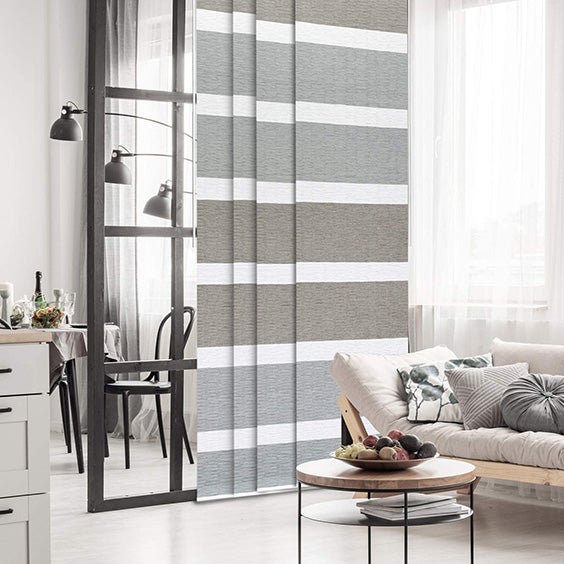
Hanging fabric dividers are the most affordable option for a divider. They can be as small as 24 inches or as large as 50 inches. A cotton muslin curtain is durable and can partially absorb sound.
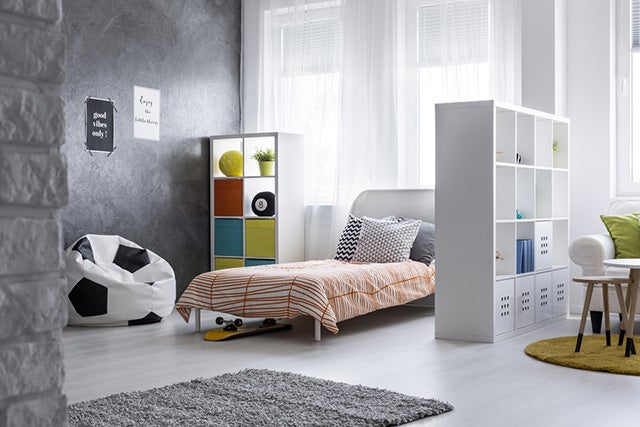
3. Storage Room Divider
A storage room divider can be a bookcase or a huge chest of drawers. They are considered space-savers because they have other functions besides dividing the room. Some storage room dividers can hold books, artworks, pictures, and ceramics.
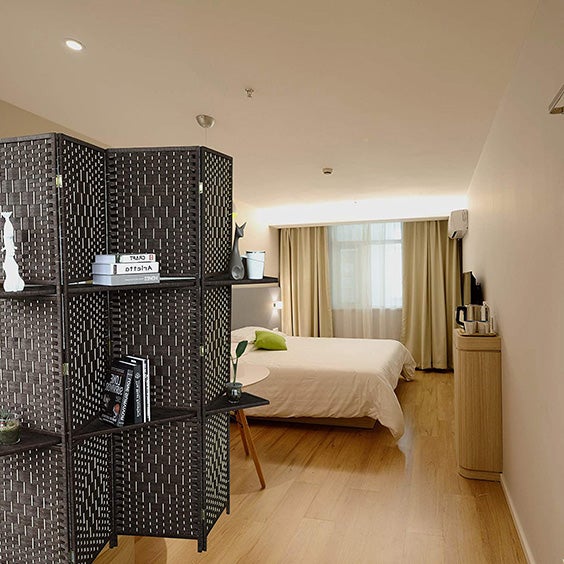
If you fill it with books, the divider can block sounds. However, these kinds of dividers can be too high that they need to be attached to the ceiling and floor. Otherwise, the divider might fall due to a lack of balance.
— DIY Room Dividers
Get crafty with these DIY room divider ideas to make your home more aesthetically pleasing.
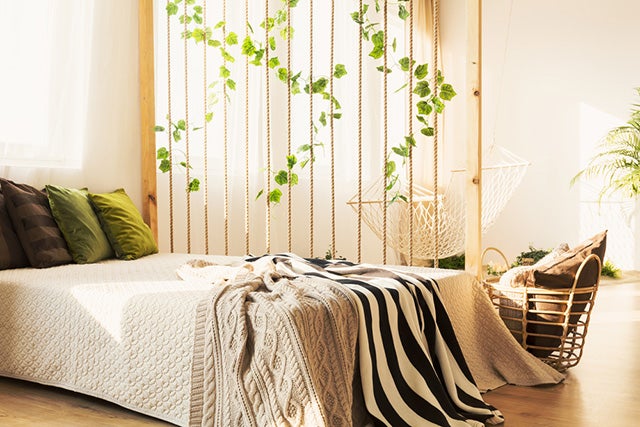
1. Rope Wall
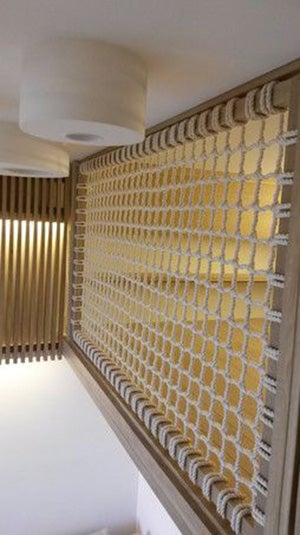
A rope wall is a see-through divider that will create texture to your space while keeping it fresh and spacious. It also maximizes the lighting in your bedroom and living room while making the ceiling look high.
For this project, you just have to attach ropes to the ceiling and wall. This will keep them stable and solid.
2. Frosted Glass Door Divider
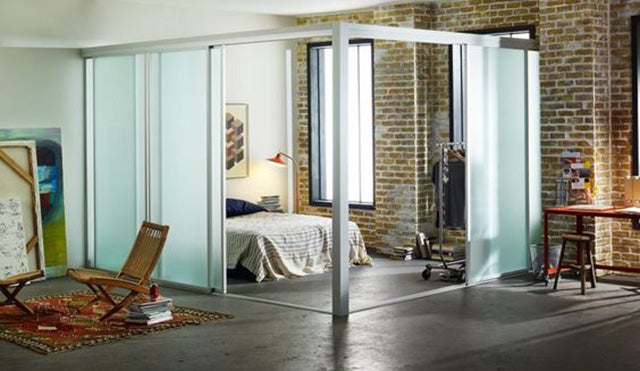
If you have the budget to purchase sliding frosted glass doors, you can turn your studio apartment into a 1-bedroom apartment that offers privacy and good lighting.
For this sliding door, you will also need to mount a frame to the ceiling, floor, and both sides of the wall. For an added decoration, try installing LED strip light on the frame to light up the frosted glass.
3. Repurpose an Old Clothing Rack
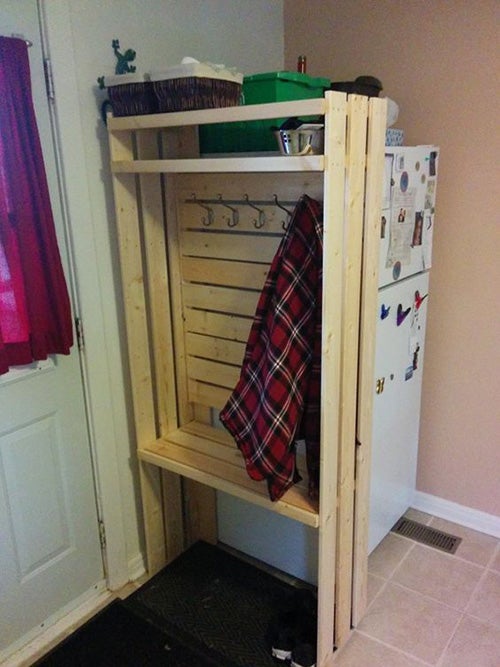
If you live alone in your apartment and already have some sort of privacy, an old clothing rack is enough to divide your living room and your bedroom. Not only will it save more space because of its double purpose, but it also saves more money because you don’t have to buy anything else.
4. Upholstered Room Divider
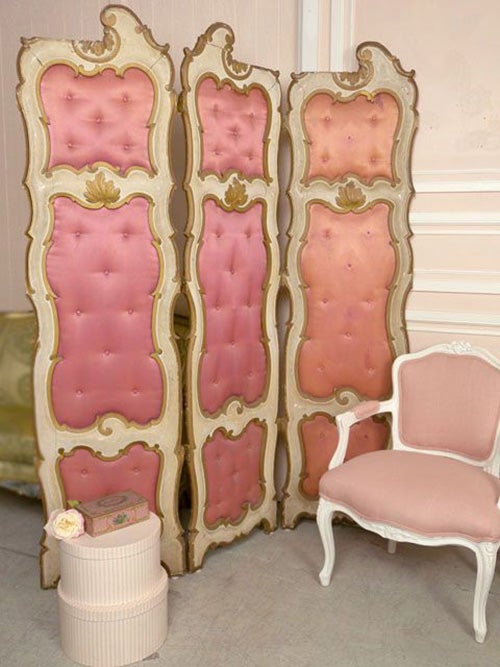
If you don’t like the simplicity of your folding divider, why not get it padded and upholstered with a design that fits your room? Aside from the added decoration, it also soundproofs the room.
5. Plants
A wall of plants in your bedroom will give tropical vibes to your studio apartment while offering privacy. Get a shelf that is big enough to separate the bedroom and living room. If there is a low part of the shelf, you can even use it as a workspace.
How to Build a Wall to Divide a Living Room into a Bedroom
Building a wall to divide a living room into a bedroom provides more security, privacy, and division between the two rooms. It takes more time and money, but we’ll guide you through the whole process!
How Much Space You Need for a Bedroom
If you live in a studio apartment and you’re planning to separate your living room and bedroom, it’s first important to know how much space you will need for the bedroom.
Most studio apartments only have around 300 feet of floor area. It can be too small because you have to fit your living area, sleeping area, bathroom, kitchen, closet, and dining room in one tiny space.
Out of all these rooms, your sleeping area has to be the biggest because it is most likely to contain your closet as well. Allot around 100 feet for your rectangular bedroom.
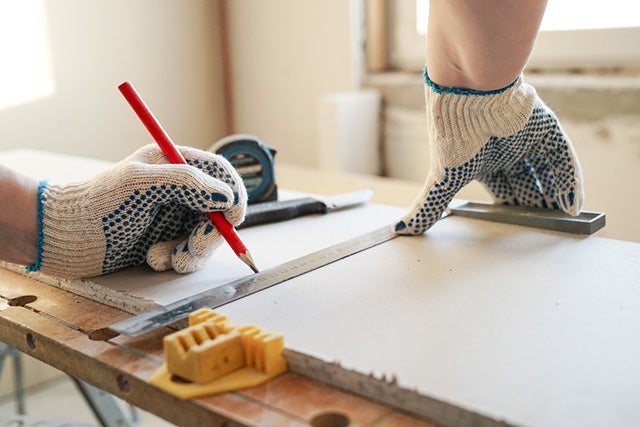
How to Build a Wall with Lumber and Drywall
Building a simple partition wall is ideal if you are renting an apartment. They can temporarily provide privacy and be removed when you plan on moving out.
1. Prepare the Materials
Here are the tools and materials to prepare before building a wall:
· 2×4 lumber
· Circular Saw
· Drill
· Drywall
· Hammer
· Nails
· Screws
· Sill seal
· Wooden shims
2. Put the Sill Seal to the Surface
Make sure all the surfaces have sill seals, especially those that the temporary wall will touch. This will protect the floor, ceiling, and walls from any damage. It will also secure the temporary wall.
3. Cut the 2x4s
Make sure to measure the length and height of the room before cutting.
A pair of 2x4s, also known as plates, are needed to be the top and bottom margins. You will need another pair known as end studs that are 3 inches smaller than the height of the ceiling.
4. Assemble the Pieces.
Once you’ve cut the lumber, lay them all in the right position on the floor to give you a guide. Then, apply the bottom plate on the floor where there is a sill seal. With the sill seal in between the ceiling and the board, carry the top plate and put them in place. You may use a hammer to fit the studs within the plates. The wall perimeter is not established!
5. Attach Outside Studs to Plates
Nail or screw the end studs to keep them more stable. We suggest using crew if the divider is only attached temporarily.
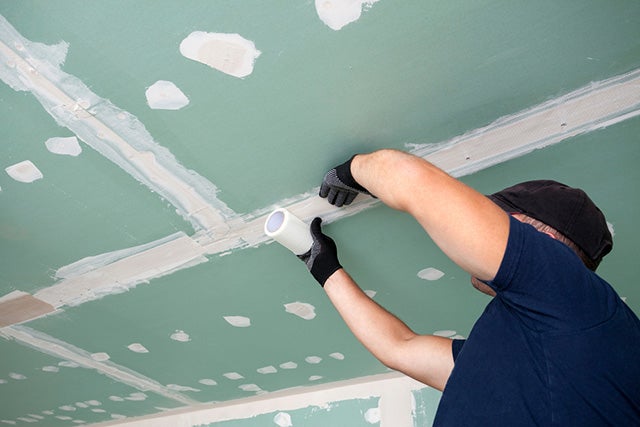
6. Put up the Other Studs Then Attach Drywall Panels

Install the rest of the studs every 16 inches. You can also soundproof it through fiberglass insulation. Then, apply the drywall panels with or without screws.
7. Add Finishing Touches
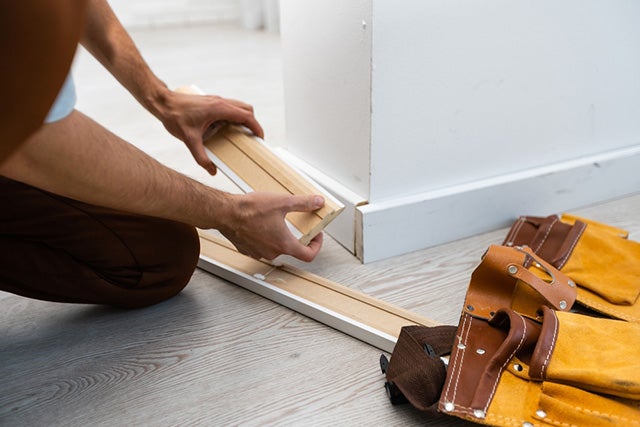
For rustic vibes, you can just leave the drywall unfinished. You may also apply a wallpaper or paint to decorate it. Others install baseboards on the wall.
Adding a Doorway to Your Wall
If you plan on adding a doorway to your wall, we suggest installing it against one end stud to keep it more secure.
Mark the wood with additional 2 inches on the width and height. This is important to make room for the frame of the door. You will only cut the soleplate out of the opening of the door after securing the wall using a saw.
For the door, you should get one with the same thickness of the lumber you are using.
You can strengthen the doorway even more by adding a vertical stud in the center of the ceiling plate and the door header stud with skewed nails.
Dividing a Room Makes Your Space More Functional!
Dividers are unnecessary, but they add privacy and organization to your home. Whether you are using classic dividers, creatively making your own, or building a wall with lumber and drywall, a divider divides every part of the apartment for each room to serve its purpose.
We hope our step-by-step guide and list of tips inspired you to get creative with your space! If you have more inquiries about room dividers and partition walls, comment down below! And be sure to check out our guide to decorating your bedroom!
Photo credit: New Africa/Shutterstock; phBodrova/Shutterstock;
giggsy25/Shutterstock; Taphat Wangsereekul/Shutterstock;
Photographee.eu/Shutterstock; Zastolskiy Victor/Shutterstock;
Kirill Lasis/Shutterstock; Andrey tiyk/Shutterstock;
Andrew Angelov/Shutterstock