You just spent a small fortune on the mattress of your dreams. You’re sleeping better than you’ve ever slept before. Things are going great. Then the inevitable happens. A spill. A stain. A mess. Suddenly, you’re faced with a dilemma: how do you deep clean your mattress without ruining it? Good news though. Deep cleaning your mattress doesn’t have to be difficult.

In fact, deep cleaning your mattress should be a fairly regular event in your life. Think about it, it’s not like you invest in a house or a car and then never clean it. That would be insane. Given the amount of time that you spend sleeping and sweating into a mattress, keeping it clean should be a high priority. After all, fine dirt, dust mites, sweat, oils, and trace chemicals from toiletries will build up over time. So even if you haven’t had any major mattress messes: cleaning your mattress should be a part of your home care routine..
But how do you do it? How do you keep your mattress feeling factory fresh after months or even years of use? Don’t worry. It’s not as hard as you think. You can easily freshen up a mattress in a few simple steps. Keep reading to find out just how easy it is to ensure that your mattress stays as fresh, fluffy, and satisfying as the day you bought it.
What You Will Need
It really doesn’t take much to keep your mattress fresh and long-lasting. Protecting your mattress really should be a priority, especially as some liquids can be very damaging to modern mattress materials. Although optional, a waterproof mattress protector helps provide a barrier from everything mentioned above, and gives you peace of mind. If the event occurs that you find you need to give your mattress a good once over – all you’ll need is found below:
- Absorbent Paper Towels or Color Fast Cotton Towels
- Vacuum Cleaner
- 16 oz Box Baking Soda
- Gentle Fabric Spot Cleaner
Optional:
- Enzyme-Based Pet Odor Remover
- Waterproof Mattress protector
Steps on How to Clean Your Mattress
Step 1: Blot Up Spills Immediately
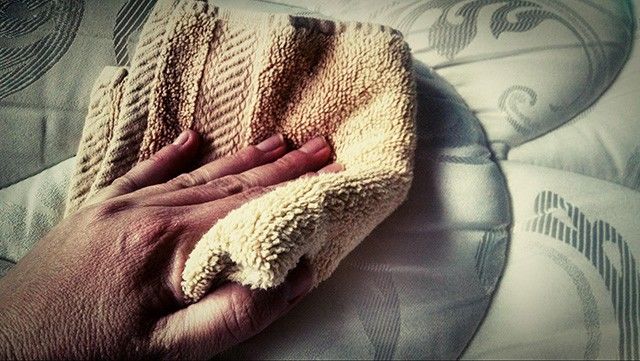
What do you do after bedwetting, dog or cat pee, vomit, or even a water breaking occurs on your mattress surface? Blot it up as soon as possible! Your sheets only provide a very thin layer of protection, but it will take a little time for liquid to truly soak deep into a mattress so putting down absorbent cotton towels or paper towels depending on the size of the spill should be your immediate reaction.
Continue adding dry absorbent fabrics as the liquid is pulled up, and push down from above to get below the surface of the mattress. It’s amazing how much fluid you can soak up this way, and continue to do this until the materials begin to pull away dry.
Things to remember:
The longer liquid sits on a surface, the further it will absorb into the material. Be sure to try and soak up excess spills as quickly as possible to avoid ruining your mattress.
Step 2: Vacuum
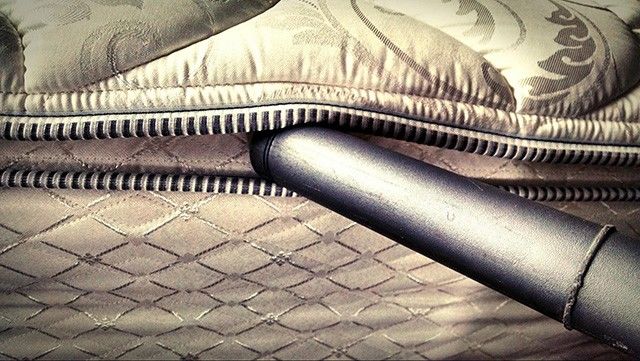
Once the mattress surface is dry to the touch, or if you never had an moisture to contend with, vacuum your mattress using an upholstery attachment. Go over it really well and get into the stitching indentations and around the piping and sides. Take your time with this as this is where you will get an accumulation of dust and allergens that could be causing unknown respiratory issues.
This is also especially important if you have had an outbreak of scabies, or think you may have bedbugs at all. All the little mattress crevices are perfect hiding spots for any critters lurking about and vacuuming thoroughly combined with the correct treatment is very effective in their eradication.
Things to remember:
Vacuuming your mattress should be a regular part of your cleaning routine, plus it doesn’t take very long!
Step 3: Spot Treat Stains
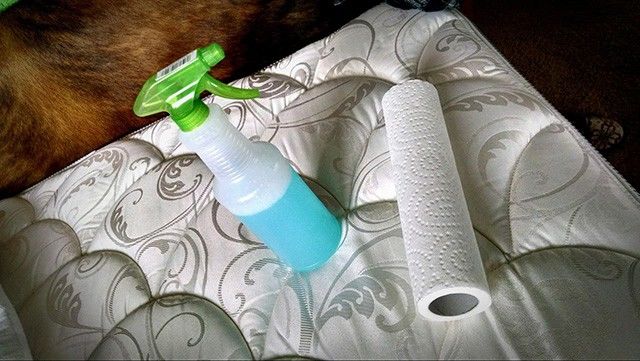
Now you can attack any stains you may have noticed while vacuuming. Even if you have always taken good care of your mattress, this can occur easily- especially after being in storage or after a move.
If you know you are dealing with any sort of bodily fluid or animal pee, I strongly suggest using an enzymatic cleaner. These work different ways depending on which brand you buy, so always be sure to follow instructions.
If you are just trying to get out general dirt or liquid stains, follow whatever spot cleaner directions you have, and follow up with a damp cloth to blot up any leftover cleaner residue and refreshing the surface.
Things to remember:
Stains will void a mattress warranty, so be sure to get at them while they are still fresh to avoid the stain from permanently setting.
Step 4: Deodorize
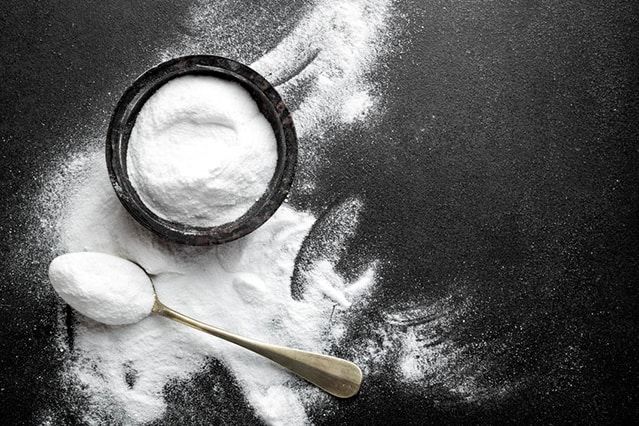
Even the cleanest looking of mattresses can benefit from this step. Odors lurk in fabrics, but luckily it’s really very simple to deodorize your mattresses by liberally sprinkling a box of baking soda over it.
You’ll want to keep this is place for 12 to 24 hours, so it may be a good night to have a camp out on your living room floor to reap the odor pulling benefits of baking soda. Also, if you can, move your mattress into a sunny window- this will help increase the baking soda’s sanitizing power. Once your time is up, simply vacuum up the loose baking soda.
Things to remember:
The more odoriferous your mattress is, the longer you should allow this step to occur. This is also a good trick for carpet and rug odors.
Step 5 (optional): Air Out if Possible

Sunlight and UVA rays are very effective in sanitizing and refreshing fabrics. If it is possible and not back breaking, consider letting your mattress hang out for a day outside. If you have a trampoline this is the perfect surface to place it upon for airflow, but letting it rest upon a sunny deck, or leaning it up against your house can be just as effective.
Things to remember:
Mattresses can be very heavy and awkward. Do not attempt this step alone to avoid accident or injury, and only do it if it is easy to achieve.
Step 6 (optional): Add a Mattress Protector or Pad
If you haven’t done so already, consider adding a mattress pad or waterproof protector. Many people shun this idea initially because they feel it changes the comfort of their sleeping surface, but many mattress protectors currently on the market do not have this issue at all. Waterproof pads, when cared for correctly, will protect your mattress from a variety of all liquid spills and stains, and are generally easy to clean themselves. Plus they are much less expensive to replace if needed.
Things to remember:
Mattress pads and protectors provide a barrier of protection and will help keep your mattress warranty intact- not to mention make cleanup much easier.
You may want to read: How Do You Clean a Memory Foam Mattress Topper?
Conclusion
The thought of cleaning your mattress can be a daunting one, but hopefully this tutorial has shown you just how easy and effective you can be with a few simple supplies and a little time. It’s important to keep your mattress in your regular house cleaning routine to help remove allergens and dust, as well as keep it up to warranty. On occasion spills and stains occur, be sure to take care of them as soon as possible.